
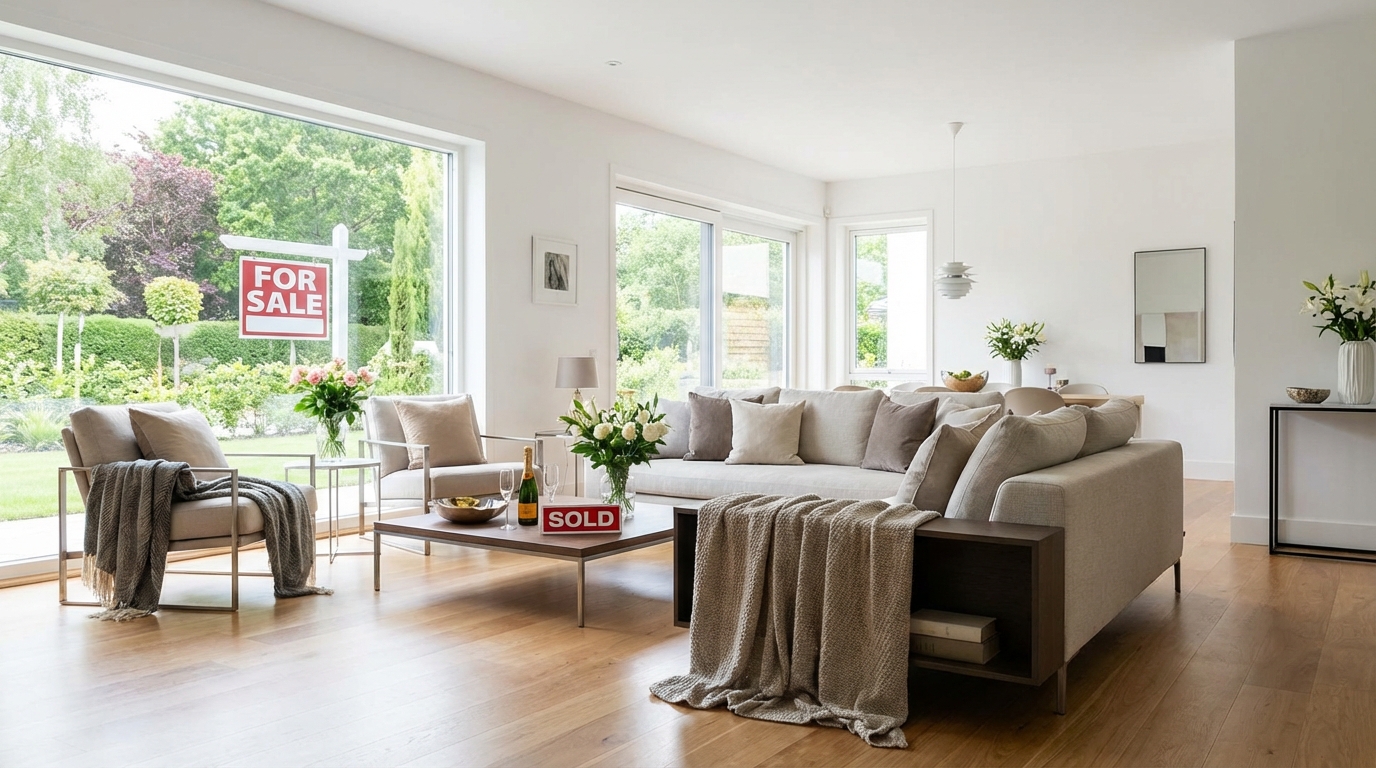
Buyers decide how they feel about your home within seconds—often before they’ve even stepped inside. That first impression is driven by what they see in listing photos, the entryway, the light, the smell, and how “move-in ready” the space feels. Home staging isn’t about decorating for your taste; it’s a strategic way to help buyers visualize their life in the home.
In this selling guide, you’ll learn how to stage your home for maximum impact using a simple, repeatable process—plus room-by-room tips, photo-ready checklists, and practical upgrades that typically deliver the best return.
Why staging works (and what “maximum impact” really means)
Staging is the art and science of presenting your home so it looks spacious, bright, clean, and easy to imagine living in. “Maximum impact” doesn’t mean expensive furniture rentals or a full redesign. It means reducing buyer objections and increasing perceived value with targeted improvements.
- Online impact: Most buyers start on search. Better photos = more clicks, more showings, more competition.
- In-person impact: Staging guides attention to your home’s strengths (light, layout, storage) and away from distractions.
- Pricing power: A well-presented home can justify your asking price because it feels cared for and turnkey.
Key mindset shift: You’re not staging for “everyone.” You’re staging for your most likely buyer. A downtown condo may lean minimalist and sleek; a suburban family home benefits from warmth, function, and “space to grow.”
The staging game plan: a high-ROI process you can follow
Before you start moving furniture, use this step-by-step framework. It helps you prioritize what matters most and avoid wasted effort.
1) Declutter like a buyer is moving in tomorrow
Clutter makes rooms feel smaller and signals “not enough storage.” Your goal is to create visual breathing room.
- Clear surfaces: Aim to leave 30–50% of countertops, tables, and shelves empty.
- Edit furniture: Remove one item per room (often a chair, side table, or bulky shelf) to improve flow.
- Pack personal collections: Family photos, trophies, niche decor, and bold art can make it harder for buyers to picture themselves.
- Organize closets: Buyers open closets. Keep them 25–40% empty to signal “ample storage.”
Tip: Use clear bins and label them by room. If you’re moving anyway, pre-packing doubles as staging.
2) Deep clean and eliminate “small signals” that reduce trust
Buyers read cleanliness as a proxy for maintenance. Even strong finishes can feel less valuable if the home doesn’t look well cared for.
- Windows and mirrors: Streak-free glass makes rooms brighter in photos and showings.
- Baseboards and vents: Dust here can subconsciously signal deferred upkeep.
- Grout and caulk: Re-caulking a tub or refreshing grout can make bathrooms look newer fast.
- Odors: Remove the source (trash, pet areas, drains) rather than masking with heavy fragrances.
3) Make simple, strategic repairs (the “buyer objection” checklist)
Staging and maintenance go hand in hand. Minor defects can feel like major problems when buyers are scanning for risk.
- Fix squeaky doors, loose handles, and sticky windows
- Replace burned-out bulbs (match color temperature for consistency)
- Patch nail holes and touch up scuffed paint
- Address obvious water stains or peeling caulk immediately
Rule of thumb: If a buyer can notice it in a 15-minute showing, it’s worth fixing.
4) Create a neutral, bright baseline (without stripping the home of character)
Neutral doesn’t mean bland—it means broadly appealing. You can still keep warmth through texture: linens, wood, greenery, and layered lighting.
- Paint: If walls are heavily personalized, consider a light neutral that photographs well.
- Lighting: Use consistent bulbs (warm-white or soft-white) and add lamps to dark corners.
- Textiles: Crisp bedding, fresh towels, and simple rugs instantly “finish” a room.
Room-by-room staging tips that move the needle
Once the foundation is set (declutter + clean + fix), focus on the rooms that drive offers: the living room, kitchen, primary bedroom, bathrooms, and the entry. These spaces dominate both listing photos and buyer memory.
Entryway: design for the first 10 seconds
- Clear the path: Remove shoes, excess hooks, and floor clutter.
- Add a focal point: A simple mirror (light boost) or a small console with a plant.
- Upgrade the “hand touch” items: Clean the doorknob, replace a worn welcome mat, ensure the door closes smoothly.
Living room: highlight space, not stuff
- Float furniture for flow: Create walkways; don’t block natural paths.
- Define zones: A rug anchors the seating area and makes it feel intentional.
- Style lightly: One or two pillows, a throw, and a simple coffee table arrangement (book + small plant).
- Show scale: Oversized furniture can shrink the room; consider swapping or removing one bulky piece.
Photo tip: Open curtains/blinds to maximize natural light, but avoid harsh glare by angling slats or using sheer panels.
Kitchen: communicate “clean, functional, and updated”
- Clear counters: Leave only one or two items (e.g., a bowl of lemons, a cutting board).
- Remove magnets and papers: A clean fridge front reads more modern.
- Make it sparkle: Degrease the hood, polish stainless steel, and clean sink fixtures.
- Set a subtle lifestyle cue: A simple place setting or a small herb plant can add warmth without clutter.
High-ROI mini-upgrade: If hardware is dated, consider swapping cabinet pulls for a cohesive, modern look—often an inexpensive change with big visual payoff.
Dining area: stage for flexibility
- Right-size the table: If it overwhelms the space, remove leaves or consider a smaller setup.
- Keep the centerpiece simple: Low profile so the room feels open.
- Show how it lives: Two to four chairs can be enough if it improves flow.
Primary bedroom: the “hotel effect” sells
- Make the bed the anchor: Crisp linens, neutral bedding, and minimal pillows.
- Clear nightstands: Lamps + one small item each is plenty.
- Open up the room: Remove extra dressers or chairs that crowd pathways.
- Closet edit: Match hangers and leave visible space between items.
Bathrooms: aim for bright, fresh, and “like new”
- Remove everything from counters: Toothbrushes, razors, soaps—store them for showings.
- White towels work: They read clean and photo well.
- Refresh caulk and grout: This is one of the fastest ways to reduce “old bathroom” vibes.
- Replace the shower curtain: A new, simple curtain can instantly elevate the space.
Home office / flex space: sell the lifestyle
Buyers value flexibility—especially if they work from home or need a guest room. Stage this area to look purposeful.
- Choose one identity: Office, gym nook, nursery, or guest room—don’t mix all of them.
- Hide cables: Use cord covers or a cable box.
- Keep walls calm: A simple print or neutral art beats busy bulletin boards.
Outdoor areas: extend perceived square footage
- Curb appeal basics: Mow, edge, trim shrubs, and clear debris.
- Front door refresh: Clean it, consider new hardware, and ensure house numbers are visible.
- Create a “moment”: Two chairs on a porch or a small table on a patio signals usable space.
- Night lighting: Solar path lights or a working porch light adds safety and warmth.
Staging for listing photos and showings (where offers are won)
Staging is only as effective as the way it’s presented online and experienced in-person. Treat photos and showings like product launches—because that’s exactly what they are.
Photo-ready checklist (run this before every shoot)
- Turn on all lights (replace mismatched bulbs)
- Open curtains and clean windows
- Hide trash cans and pet items
- Close toilet lids and remove bath mats if they look worn
- Minimize countertop items in kitchens and baths
- Stage key vignettes (a made bed, tidy sofa, simple dining setup)
Showing-day “10-minute reset”
- Make beds and straighten pillows
- Clear sinks and wipe counters
- Empty kitchen trash and run disposal with lemon peel (if applicable)
- Open blinds, turn on lights
- Quick floor pass in high-traffic areas
Tip: Avoid strong scents. Clean, neutral air is more universally appealing than candles or heavy plug-ins.
Budget-friendly staging upgrades with strong ROI
You don’t need a full renovation to create a premium feel. Focus on improvements that buyers can see immediately.
- Paint touch-ups: Scuffs and marks can make a home feel tired.
- Modern light fixtures: Especially in entryways and dining areas.
- Hardware swaps: Matching cabinet pulls and door handles create cohesion.
- Fresh landscaping: Mulch and seasonal flowers offer outsized curb appeal.
- New textiles: Shower curtain, towels, bedding, and a couple of neutral pillows.
Prioritization rule: Spend where it photographs: entry, living room, kitchen, primary suite, and front exterior.
Conclusion: stage with strategy, sell with confidence
Staging your home for maximum impact is about more than making it look nice—it’s about engineering a buyer’s experience. When you declutter, clean, fix what’s noticeable, and style each room with intention, you create a home that feels easy to love and easy to say “yes” to.
Ready to turn staging into a smarter selling plan? AIRE helps you sell independently with AI-powered guidance—so you can price strategically, build a strong listing, plan photo-ready checklists, and manage your next steps with confidence, all in one streamlined platform. Use AIRE to transform your staging work into a market-ready launch.