
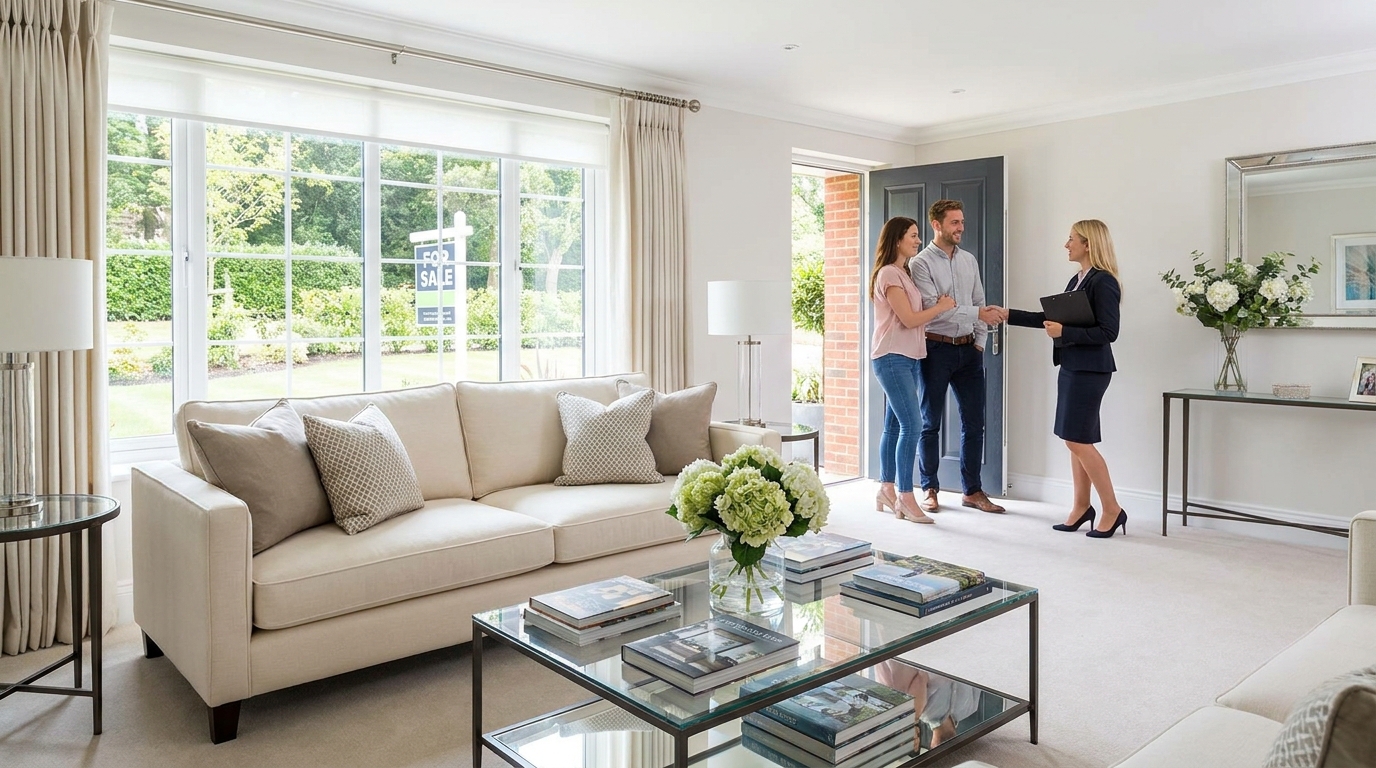
Buyers decide how they feel about a home within minutes—and those first impressions often happen online, long before a showing. The good news: staging your home for maximum impact doesn’t require a full renovation or a designer budget. It’s a strategic process that helps buyers see the space, imagine their life there, and feel confident making a strong offer.
In this selling guide, you’ll get practical, data-informed home staging tips—plus a room-by-room plan and a simple staging checklist—to help your listing stand out in photos, show better in person, and attract serious buyers.
Why staging matters (and what “maximum impact” really means)
Staging isn’t about making your home look “perfect.” It’s about reducing friction in a buyer’s mind. When a room feels bright, spacious, and easy to understand, buyers spend more time engaging with the listing and less time thinking about what they’d need to fix.
Maximum impact staging focuses on three outcomes:
- Better listing photos: Clean lines, balanced lighting, and uncluttered surfaces translate into sharper, more clickable images.
- Stronger emotional pull: Buyers can picture furniture placement, entertaining, and everyday living.
- Fewer objections: Small issues (scuffs, odd furniture layouts, crowded closets) don’t become “reasons to pass.”
Think of staging as a high-ROI marketing upgrade. You’re presenting your home like a product—because online, it is one.
Your pre-staging game plan: the 3-step foundation
Before you style a single shelf, build the foundation. These steps create the biggest visual lift with the least cost.
1) Declutter like you’re moving (because you are)
Clutter reads as “small” in photos and in person. Aim to remove at least 30–50% of what’s on surfaces, walls, and floors. The goal is not emptiness—it’s clarity.
- Clear kitchen and bathroom counters (leave only one or two attractive items).
- Remove extra chairs, side tables, and oversized furniture that blocks pathways.
- Pack away personal collections, stacks of mail, kids’ crafts, and pet items.
- Limit wall décor to a few larger pieces instead of many small frames.
Actionable tip: Use the “one-box rule.” Keep a box in each room and place anything non-essential into it. Seal and store it after each session.
2) Deep clean for a “new home” feel
A staged home that isn’t clean won’t land. Buyers notice grime in corners, streaks on windows, and odors immediately—and they often assume hidden issues.
- Clean windows inside and out (natural light sells).
- Neutralize odors: trash, litter boxes, fridge, and soft fabrics.
- Scrub grout, descale fixtures, and polish mirrors.
- Vacuum edges and baseboards; mop until it looks photo-ready.
Actionable tip: Replace or wash shower curtains, bath mats, and kitchen towels—these inexpensive items can make spaces look instantly fresher.
3) Fix the “silent deal-killers”
Small defects become big doubts. Knock out visible fixes that buyers will absolutely notice during showings and inspections.
- Patch nail holes and touch up paint in high-traffic areas.
- Replace burnt-out bulbs (match color temperature for consistency).
- Tighten loose handles, squeaky hinges, and wobbly railings.
- Repair dripping faucets and running toilets.
Actionable tip: Walk through your home with your phone camera on. Photos reveal scuffs, crooked art, and clutter that your eyes ignore.
Room-by-room staging for maximum impact
Not every room needs the same level of effort. Prioritize the spaces that drive emotional decision-making and photograph most often: living room, kitchen, primary bedroom, bathrooms, and entry.
Entryway: create the “yes” moment
The entry sets expectations for the entire tour. You want it to feel open, bright, and easy.
- Add a simple doormat and a bright, clean porch light.
- Keep the entry table minimal (a small plant + tray is enough).
- Ensure a clear walkway—no shoes, bags, or coats in view.
Quick win: A fresh coat of paint on the front door (in a neutral, modern tone) can significantly improve curb appeal photos.
Living room: show scale, seating, and flow
Buyers need to understand how the room functions. The right layout makes the space feel larger than it is.
- Float furniture slightly away from walls when possible to create depth.
- Use a rug large enough to anchor the seating (front legs on the rug is a solid rule).
- Keep coffee tables and side tables mostly clear.
- Add texture with pillows and a throw—stick to a consistent color palette.
Pro staging move: Use an oversized mirror to bounce light and visually expand a darker living room.
Kitchen: make it feel clean, current, and functional
Kitchens sell homes, but only when they feel hygienic and easy to use. Even if your kitchen isn’t brand new, staging can emphasize strengths like storage and counter space.
- Clear counters completely except for 1–2 items (e.g., a bowl of lemons and a cutting board).
- Remove magnets, papers, and photos from the fridge.
- Organize pantry and cabinets—buyers look.
- Set the dining area with simple place settings if space allows.
Quick win: Update cabinet hardware if it’s dated. It’s low-cost and high-visibility.
Primary bedroom: create a calm, hotel-like vibe
Bedrooms should feel restful and spacious. The #1 goal: make the bed the star, and remove anything that feels too personal.
- Use crisp bedding in light neutrals; add 2–3 accent pillows.
- Keep nightstands balanced (matching lamps helps symmetry).
- Remove personal photos and excess décor.
- Clear the floor completely—especially under the bed.
Quick win: Add blackout or light-filtering curtains hung higher and wider than the window to make ceilings feel taller.
Bathrooms: spotless, minimal, and bright
Bathrooms should feel like a clean spa, not a storage room. Buyers will open shower doors and medicine cabinets, so tidy matters.
- Put away toiletries, toothbrushes, and everyday products.
- Use one or two decorative items: a small plant, neutral soap dispenser, folded towels.
- Replace worn caulk or re-grout trouble spots.
- Ensure the bathroom smells fresh (avoid heavy air fresheners).
Non-negotiable: Bright, consistent lighting. Swap bulbs so mirrors don’t cast shadows.
Bonus spaces: home office, dining room, and outdoor areas
These spaces can differentiate your listing—especially when buyers are comparing similar homes.
- Home office: Stage a simple desk setup to show remote-work potential (cords hidden).
- Dining room: Keep the table modestly set; remove bulky furniture that crowds the space.
- Patio/balcony: Add a small seating set to “sell the lifestyle,” and sweep/pressure wash surfaces.
Staging for photos and showings: the final 24-hour checklist
Even well-staged homes can underperform if photos are dark or rooms feel cramped during showings. Use this checklist to get listing-day ready.
Photo-ready checklist (do this the day before)
- Lighting: Turn on all lights and replace mismatched bulbs (aim for consistent warm-white or neutral-white).
- Windows: Open blinds/curtains to maximize natural light; clean glass one more time.
- Floors: Vacuum in straight lines; mop hard surfaces; remove bath mats if they look worn.
- Surfaces: Clear counters, nightstands, and coffee tables; hide remotes and cords.
- Kitchen: Remove sponges, soap bottles, and dish racks; empty the sink.
- Bathrooms: Close toilet lids; hang fresh towels; remove trash cans if possible.
- Outside: Move cars, roll up hoses, store bins, and tidy the porch.
Showing-ready routine (15 minutes before)
- Set thermostat to a comfortable temperature.
- Do a quick “basket sweep” for last-minute clutter (kids’ toys, pet bowls, chargers).
- Open a few windows briefly for fresh air, then close them before leaving.
- Keep pets off-site if possible, or create a clean, contained pet area.
Smart staging upgrades that usually pay off
You don’t need major renovations for maximum impact, but a few strategic upgrades can help your home feel more modern and move-in ready.
- Paint: Fresh neutral paint in main living areas is one of the strongest visual improvements.
- Lighting fixtures: Replace overly dated fixtures; modern, simple designs photograph well.
- Hardware: Matching cabinet pulls and door handles create a cohesive look.
- Landscaping: Trim shrubs, edge walkways, add fresh mulch—curb appeal drives clicks.
- Textiles: New towels, a modern shower curtain, and coordinated pillows can make rooms feel “finished.”
Tip for budgeting: Spend where buyers look longest: the entry, kitchen, living room, and primary suite. Skip expensive changes that don’t show well in photos.
Common staging mistakes to avoid
- Over-personalizing: Bold art, niche themes, and lots of photos can distract buyers from the space.
- Overfurnishing: Too much furniture makes rooms feel smaller—remove pieces to improve flow.
- Ignoring closets and storage: Buyers open doors. Crowded closets signal “not enough space.”
- Strong scents: Heavy candles and sprays can raise concerns. Aim for clean and neutral.
- Not staging outdoors: Even a small front porch or balcony can be a major selling point.
Conclusion: stage with intention, sell with confidence
Staging your home for maximum impact is about making it easy for buyers to say “yes.” With decluttering, deep cleaning, targeted fixes, and room-by-room styling, you can create a listing that photographs beautifully, shows confidently, and competes strongly—without relying on guesswork.
Ready to turn staging into a smarter selling strategy? AIRE helps you price with data, generate compelling listing descriptions, build a step-by-step selling plan, and stay organized from photos to offers—using AI to guide you through the process with confidence and control. Create your listing plan in AIRE and make your staged home stand out where it matters most: online and in buyers’ minds.