
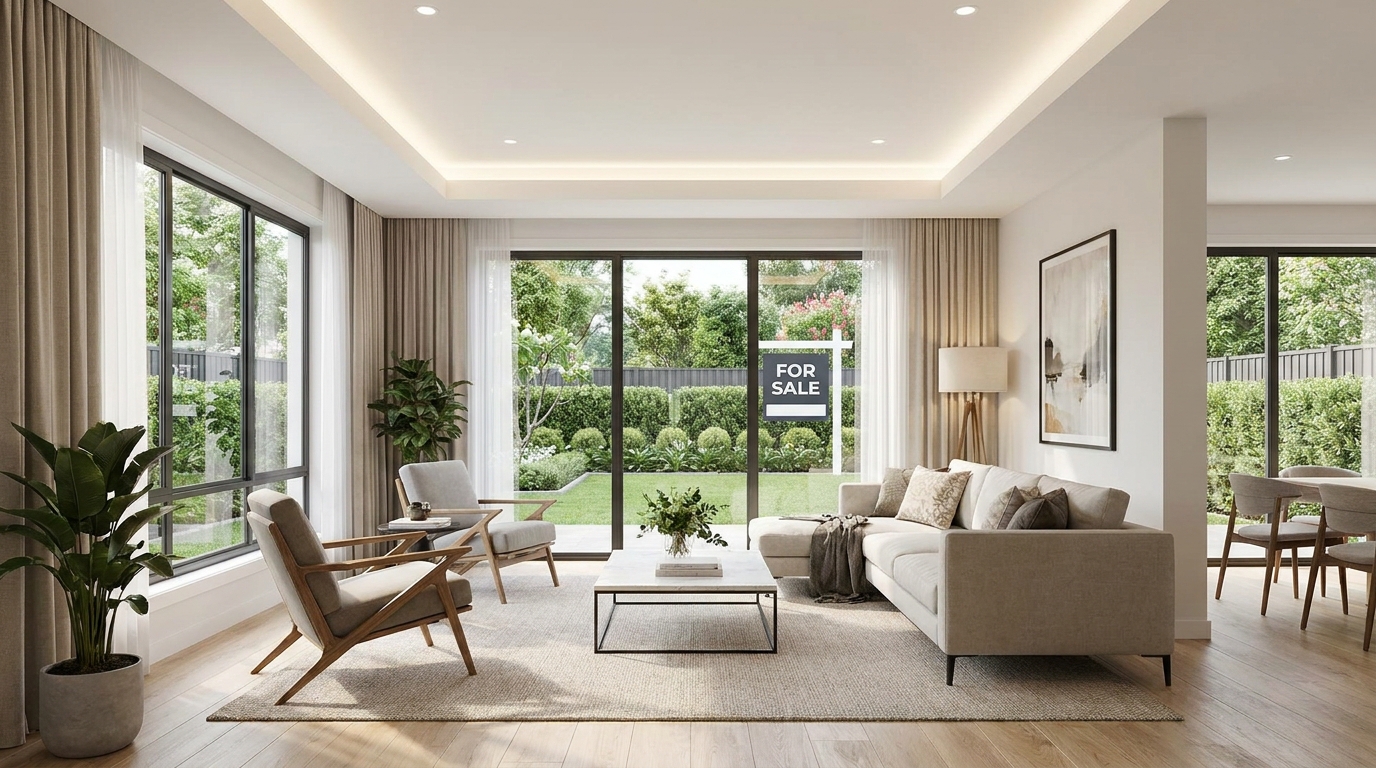
Buyers decide how they feel about a home in seconds—often before they’ve even reached the living room. That’s why staging your home for maximum impact isn’t about decorating for your taste; it’s about presenting a clean, bright, move-in-ready lifestyle that helps buyers picture themselves living there. Done well, staging can boost perceived value, reduce time on market, and create the kind of emotional pull that leads to stronger offers.
Below is a practical, data-driven staging playbook you can follow whether you’re selling a condo, townhouse, or single-family home. You’ll get room-by-room guidance, a prioritized checklist, and simple upgrades that photograph beautifully—without wasting money on renovations that won’t pay back.
Why home staging works (and what “maximum impact” really means)
Staging works because it reduces uncertainty. When rooms feel bright, spacious, and purpose-driven, buyers don’t have to work as hard to understand the layout or imagine how their life fits. That mental ease increases confidence—and confidence is what turns showings into offers.
“Maximum impact” staging focuses on three outcomes:
- Clarity: Every room has an obvious purpose and a clean visual path.
- Condition: The home reads as well-cared-for, fresh, and low-maintenance.
- Consistency: A cohesive look across rooms that photographs well and feels intentional.
Pro tip: Think like a buyer scrolling listings. Your staging should make each photo feel bright, open, and “worth touring.” If you win online, you earn the showing.
Staging priorities: what to do first for the biggest payoff
If you only have a weekend (or a tight budget), prioritize the changes that impact first impressions and listing photos. Use this order of operations for best results.
1) Declutter like you’re moving (because you are)
Clutter makes rooms feel smaller and distracts from features buyers pay for—natural light, ceiling height, and usable square footage. Aim for a 30–50% reduction in visible items on surfaces and floors.
- Clear kitchen and bathroom countertops down to a few intentional items.
- Remove extra furniture that blocks walkways or makes rooms feel tight.
- Limit shelves to a curated mix of books and decor (not storage).
- Pack personal collections (trophies, memorabilia) so buyers can project their own style.
Quick test: If an item wouldn’t belong in a hotel room photo, it probably shouldn’t be out for showings.
2) Depersonalize to broaden appeal
Buyers should remember the home, not your family photos or bold wall art. Depersonalizing doesn’t mean making it sterile; it means making it universally inviting.
- Remove personal photos, name signs, and highly specific decor.
- Keep color palettes neutral with a few warm accents (textiles, greenery).
- Store pet items (bowls, beds, litter boxes) during showings when possible.
3) Deep clean and fix the “tiny no’s”
Small issues create an outsized perception of neglect. A buyer might not consciously notice a loose doorknob or scuffed baseboard, but they will feel the home is less maintained—and mentally discount their offer.
- Patch nail holes and touch up paint on high-visibility walls.
- Replace burnt-out bulbs; match color temperature for consistency (warm/soft white).
- Fix squeaky doors, sticky locks, dripping faucets, and wobbly handles.
- Clean windows, tracks, mirrors, and grout—these show in photos.
4) Light it up (natural and artificial)
Bright homes feel bigger and newer. Before photos and showings:
- Open all blinds/curtains; clean window glass for maximum clarity.
- Add floor or table lamps in darker corners to remove shadows.
- Use consistent bulb brightness; consider upgrading key rooms to brighter LEDs.
Room-by-room staging guide (with practical setups)
Once your home is decluttered, clean, and repaired, shift to shaping buyer perception room by room. Your goal: define purpose, increase perceived space, and create photo-ready moments.
Entryway: sell the feeling of “welcome”
The entry sets the tone. Keep it open and functional.
- Add a simple mat and a small plant for warmth.
- Use a slim console (or none) to avoid blocking flow.
- Include a mirror to bounce light and make the space feel larger.
Living room: create conversation and clear pathways
Buyers want to know: Where does the couch go? Will my TV fit? Is this room usable?
- Float furniture to create natural walking lanes (avoid “wall hugging” everything).
- Use a rug large enough to anchor seating; undersized rugs make rooms feel smaller.
- Style with 3–5 pillows max; keep patterns subtle for broad appeal.
- Remove bulky side chairs or extra tables that crowd the space.
Photo tip: Angle seating slightly toward a focal point (fireplace, window, or clean media setup) to make photos feel intentional.
Kitchen: clear counters, highlight storage, add freshness
Kitchens sell homes—but only when they look clean, spacious, and functional.
- Clear counters to a few items: a bowl of fruit, a cutting board, or a small plant.
- Remove magnets, papers, and photos from the fridge.
- Organize pantry and drawers; buyers open things during tours.
- Replace old cabinet hardware if it’s dated (a low-cost, high-impact swap).
Dining area: show scale and seating capacity
- Set the table simply (runner + centerpiece) to show how it functions.
- Keep chairs matched if possible; remove extras that crowd the room.
- Center the table under the light fixture for a balanced look in photos.
Primary bedroom: calm, hotel-like, and spacious
This room should feel like a retreat. Buyers respond to order and calm.
- Use crisp, neutral bedding; add one textured throw for warmth.
- Clear nightstands to a lamp + one accessory (book or small plant).
- Remove exercise equipment and stacks of laundry (even if temporary).
- Show closet space: reduce clothing volume, match hangers, and keep the floor clear.
Bathrooms: sparkle, simplify, and remove “daily life”
Bathrooms should feel hygienic and spa-clean.
- Put away toiletries, razors, and toothbrushes before every showing.
- Use fresh white towels and a simple soap dispenser.
- Re-caulk or refresh grout if it’s discolored—buyers notice.
- Close the toilet lid and empty trash bins.
Home office / flex space: define it clearly
Undefined spaces raise questions. Define them with minimal furniture.
- Office: desk, chair, lamp, and tidy cable management.
- Guest room: a bed + one side table; keep it airy.
- Gym corner: keep it minimal and clean; avoid cluttered equipment piles.
Outdoor areas: extend the living space
Curb appeal and outdoor living photos can dramatically improve click-through and showing volume.
- Mow, edge, and add fresh mulch for instant polish.
- Power wash walkways and the front step if needed.
- Add two chairs and a small table to suggest lifestyle.
- Store hoses, tools, and bins out of sight for photos.
Budget-friendly staging upgrades that look expensive
You don’t need major renovations to create a high-end impression. Focus on visual ROI—updates that read clearly in photos and walkthroughs.
High-impact, low-cost upgrades
- Paint touch-ups in a consistent neutral tone (especially scuffed corners and trim).
- Modern light fixtures in key areas (entry, dining, primary bedroom).
- Updated cabinet pulls for kitchens and bathrooms.
- New shower curtain + bright towels for a clean, cohesive bathroom look.
- Greenery (real or high-quality faux) to add life without clutter.
What to skip (usually)
- Overly trendy decor that narrows buyer appeal.
- Partial remodels that make other areas look dated by comparison.
- Busy wallpaper or bold accent walls unless your market strongly rewards it.
Staging for photos and showings: a simple checklist
Staging isn’t “done” until your listing photos and showings are optimized. Use this checklist the day before photography and before each tour.
Photo-day checklist
- Turn on all lights and open all blinds/curtains.
- Hide bins, cords, and chargers; clear nightstands and counters.
- Remove bath mats if they look worn; use fresh towels.
- Make every bed with crisp, simple linens.
- Do a floor sweep: no shoes, toys, pet items, or laundry baskets.
- Set temperature to comfortable and consistent (buyers remember comfort).
- Add 1–2 “moments”: a breakfast tray, a simple centerpiece, or a patio setup.
Showing-ready routine (15 minutes)
- Quick wipe of kitchen and bathroom surfaces.
- Empty trash, put away dishes, and straighten pillows/throws.
- Open blinds, turn on lights, and ensure a fresh smell (no heavy fragrances).
- Park cars away from the front when possible to maximize curb appeal.
Conclusion: stage strategically, sell confidently
Staging your home for maximum impact is a strategy, not a splurge. When you declutter, brighten, define each space, and prep for photography, you make it easier for buyers to fall in love—and easier for them to justify a strong offer.
Ready to turn staging into a smarter selling plan? With AIRE, you can use AI-powered tools to help you price strategically, build a listing that highlights your home’s best features, and manage the selling process end-to-end—so you stay in control while presenting your home like a pro. Start with AIRE and list with confidence.