
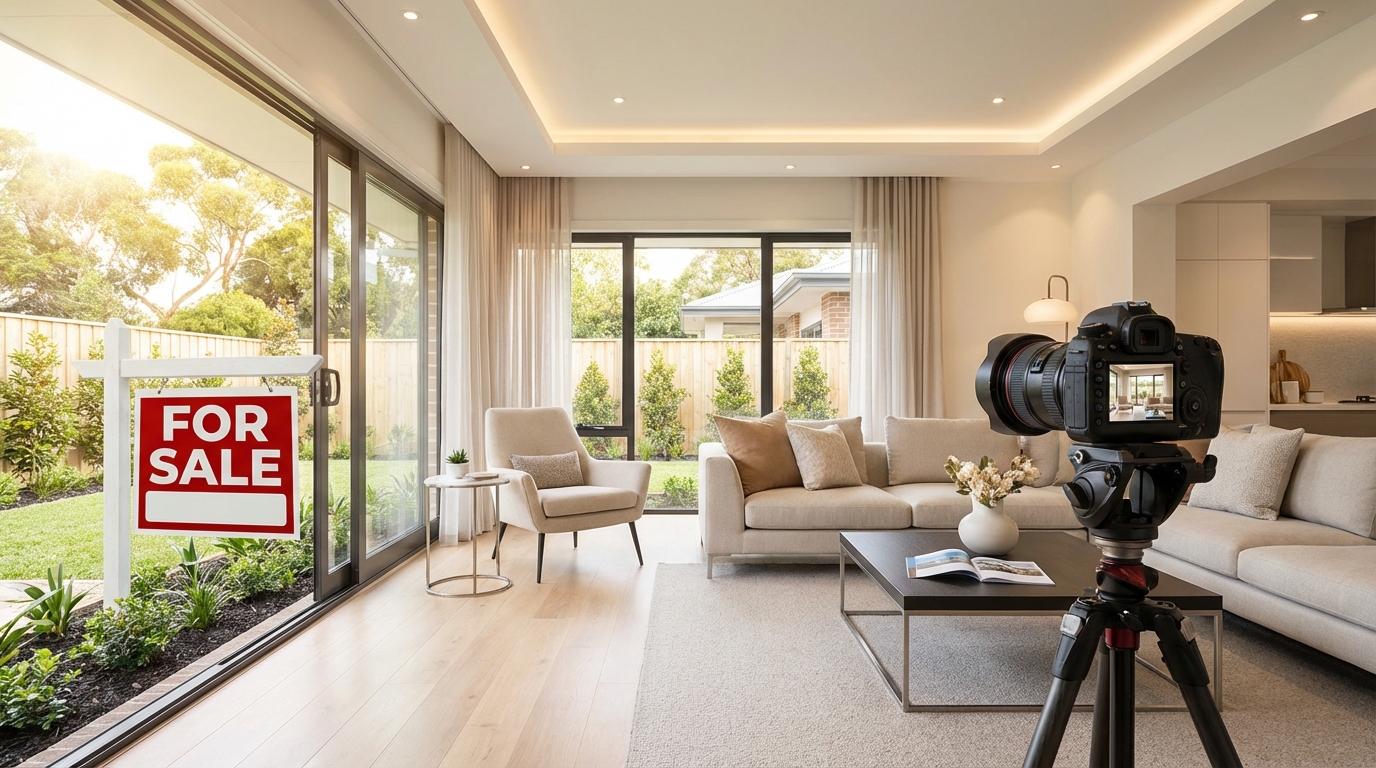
Most buyers decide whether a home is worth touring in seconds—and your photos do the heavy lifting. Great listing images don’t just “look nice”; they increase click-throughs, set expectations accurately, and help you attract more qualified buyers. The good news: you don’t need a studio budget to get professional-looking results. With the right preparation, lighting, and a consistent process, you can create standout photos that make your listing feel polished and trustworthy.
Below are practical, data-minded photography tips for better listings—optimized for how people actually shop for homes online today.
Start with strategy: what buyers need from your photos
Before you pick up a camera, align on the goal: help buyers understand the space quickly and confidently. Strong listing photos answer three questions fast:
- What’s the layout? Buyers want to understand flow from room to room.
- How bright and updated is it? Light, finishes, and condition signal value.
- Does it feel move-in ready? Clean, uncluttered visuals reduce perceived work.
Plan your shot list (so you don’t miss key rooms)
Create a consistent order so your final gallery tells a story. A strong baseline shot list includes:
- Front exterior (straight-on + 45-degree angle)
- Entry (from the door looking in)
- Main living area (2 angles)
- Kitchen (2–3 angles, include appliances + counters)
- Dining area (or eating nook)
- Primary bedroom (2 angles)
- Primary bath (wide + vanity detail if upgraded)
- Secondary bedrooms (at least 1 each)
- Secondary bath
- Backyard/patio/deck (wide + lifestyle angle)
- Garage, laundry, and any standout features (office, basement, views)
Tip: Keep your gallery focused. It’s better to post 25 great photos than 60 repetitive ones. Buyers want clarity, not clutter.
Choose the right time and weather
Lighting is everything in real estate photography. Aim for:
- Bright but not harsh sunlight (often mid-morning or late afternoon).
- Consistent conditions—avoid mixing rainy exteriors with sunny interiors if possible.
- Twilight exteriors for homes with strong outdoor lighting or a premium look (optional but powerful).
Prep like a pro: staging and styling for the camera
The camera amplifies what the eye ignores. Small messes look bigger; tight corners feel tighter. A little preparation can make photos look dramatically more high-end.
Use this 15-minute room reset checklist
Do this in every space right before shooting:
- Clear counters (leave 1–3 intentional items max).
- Hide cords, chargers, remotes, and pet items.
- Open blinds and clean smudges from windows.
- Turn on all lights (replace burnt bulbs; match color temperature when you can).
- Make beds with simple, smooth bedding.
- Close toilet lids and remove bath mats unless they’re new and neutral.
- Remove trash cans (especially from bathrooms and kitchens).
- Straighten rugs and align chairs.
Declutter to create perceived space
Online, “spacious” often reads as “less stuff.” If you’re deciding what to remove, prioritize:
- Oversized furniture that blocks walkways
- Extra chairs, side tables, and floor lamps
- Personal photos and highly specific décor
- Busy fridge magnets, dish racks, and countertop appliances
Actionable rule: If an item isn’t helping someone imagine living there, it’s likely hurting your photos.
Keep styling neutral—but not empty
Buyers respond well to clean, calm visuals. Add warmth with:
- A single vase or bowl on the kitchen island
- Fresh towels in bathrooms (white or light gray)
- One throw blanket and 1–2 pillows in the living room
- A small plant for life and color (avoid strong scents or heavy florals)
Capture better listing photos: camera settings, angles, and composition
You can shoot great photos with a modern smartphone or a camera—what matters most is technique. Focus on straight lines, natural light, and consistent framing.
Use these core shooting principles
- Shoot horizontal for listing platforms (landscape orientation).
- Keep vertical lines vertical (avoid the “leaning walls” effect).
- Stand at chest height for most rooms (about 4–5 feet). Bathrooms may need slightly higher.
- Use corners to show depth (a 45-degree angle often works best).
- Show the transition between spaces when possible (living to dining, kitchen to family room).
Lighting: prioritize natural light, control mixed tones
Rooms look larger and more inviting when they’re bright—without looking washed out.
- Turn on lights, but watch for mixed color temperatures (warm bulbs + cool daylight can look strange).
- Close curtains that create glare; use sheers if they soften harsh sun.
- Avoid direct flash if possible—it can create harsh reflections and flat spaces.
Tip: If your phone has HDR, use it carefully. HDR can help with bright windows, but too much can make photos look unrealistic.
Smartphone vs. camera: what actually matters
A newer smartphone can absolutely produce excellent listing photos if you:
- Clean the lens (seriously—this changes everything)
- Use a tripod for stability and consistent height
- Use the 1x lens (avoid ultra-wide unless you can keep lines straight)
- Tap to set exposure and focus, then adjust slightly brighter
If you use a camera, a wide-angle lens is helpful—but avoid making rooms look bigger than reality. Buyer trust matters, and misleading photos can backfire at showings.
Exterior photos: first impression, best impression
Exteriors often become your cover photo, so treat them like your headline.
- Clean the approach: cars out of driveway, bins hidden, walkway swept.
- Frame with context: show enough yard/driveway to understand the lot.
- Show lifestyle: patio seating, firepit, pool—capture the “why” behind the home.
Edit for credibility: clean, consistent, and accurate
Editing is where good photos become listing-ready—but the goal is polish, not deception. Buyers can spot over-editing, and it can reduce trust.
A simple editing workflow (in order)
- Straighten (level the horizon; fix vertical lines if your tool allows).
- Correct exposure (lift shadows slightly; avoid blown-out windows).
- Adjust white balance (make whites look white, not yellow/blue).
- Light contrast and clarity (keep it natural).
- Crop consistently (avoid tight crops that confuse room size).
What to avoid (common listing photo mistakes)
- Over-saturated colors that make walls/floors look unrealistic
- Heavy filters that change the home’s true condition
- Extreme wide-angle distortion (warped door frames, stretched rooms)
- Too many duplicates of the same angle
- Personal items visible (mail, family photos, prescriptions)
File naming and order: small detail, big impact
Organize photos so platforms display them in a logical flow. Use a naming order like:
- 01-Exterior-Front.jpg
- 02-Entry.jpg
- 03-Living-Room-1.jpg
- …
This helps you stay consistent across marketing channels and reduces friction when uploading to listing sites.
Make your photos work harder: pair visuals with smarter listing marketing
Photos get attention—but strategy converts that attention into showings and offers. Once your images are strong, use them intentionally:
- Choose a cover photo that “reads” on mobile (clean exterior or brightest hero room).
- Match photo order to buyer priorities: main living spaces first, then kitchen, primary suite, secondary rooms, and finally utility areas.
- Write captions (where possible) highlighting upgrades buyers might miss (new roof, quartz counters, energy-efficient windows).
Quick quality check before you publish
- Do the photos look consistent in brightness and color?
- Can a buyer understand the layout from the sequence?
- Are there any distracting items you didn’t notice during shooting?
- Do your best features appear in the first 5–8 photos?
Conclusion: better photos aren’t optional—they’re your competitive edge
In a digital-first market, listing photography is one of the highest-ROI improvements you can make when selling your home. A clean prep routine, thoughtful angles, and light, accurate editing can elevate your listing from “average” to “must-see”—without a massive budget.
Ready to turn great photos into a smarter, faster sale? AIRE helps you price strategically, craft a high-converting listing description, and optimize your marketing with AI-driven insights—so you can sell confidently on your terms. Upload your best photos, and let AIRE guide the next steps from listing to closing.