
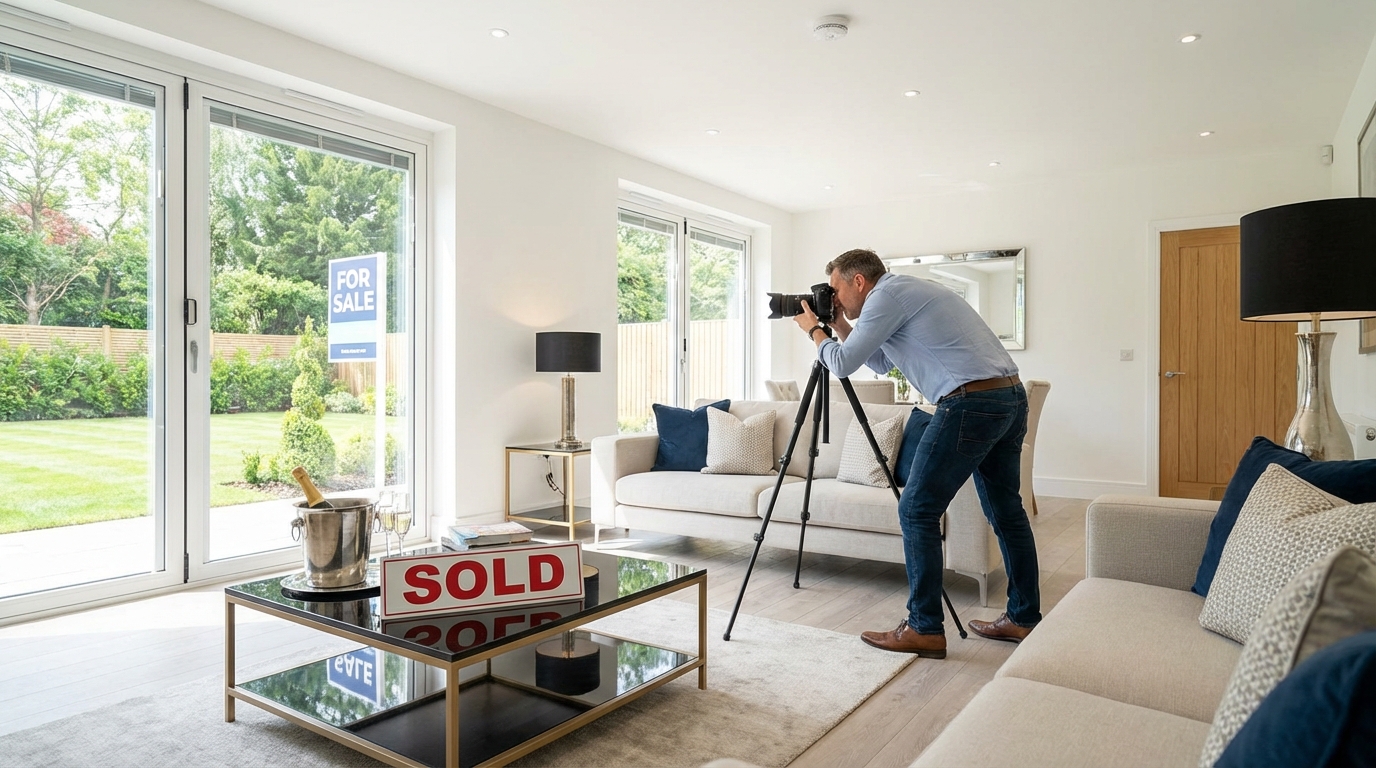
Online, your home gets judged in seconds—and your photos do most of the selling. The right images don’t just look nice; they increase clicks, keep buyers scrolling, and help your listing feel trustworthy and “worth a showing.” The good news: you don’t need a studio or a huge budget to get professional-looking results. You need a repeatable process.
Below are practical, field-tested photography tips for better listings—from prep and lighting to angles and editing—so you can create images that help your home stand out in search results and listing feeds.
Start with a photo-ready home (your camera can’t fix clutter)
Before you think about lenses or settings, get the space ready. Even great lighting won’t save a room with visual noise. Buyers zoom in, and small distractions can subconsciously signal “more work” or “lower quality.”
Use the 15-minute reset checklist for every room
- Clear surfaces: countertops, nightstands, coffee tables, desks. Leave 1–3 intentional items max.
- Remove personal items: family photos, mail, pet bowls, toiletries, shampoo bottles.
- Hide cords and remotes: they pull attention away from the room’s features.
- Open up space: tuck in chairs, straighten rugs, align pillows, push in barstools.
- Declutter the floor: shoes, baskets, laundry, toys—anything that shrinks the room visually.
Staging fundamentals that photograph well
- Make rooms feel larger: remove one extra chair or side table if the space feels tight.
- Use symmetry: matching lamps or balanced decor reads “calm” on camera.
- Add one anchor: a throw blanket, a plant, or simple art can warm up a sterile room.
- Bathroom rule: close toilet lids, remove bath mats (unless new and neutral), and hang fresh white towels.
Clean like you’re shooting a product catalog
Real estate photos behave like magnifying glasses. Prioritize:
- Windows and mirrors (smudges show immediately)
- Stainless steel (fingerprints are brutal on camera)
- Floors and baseboards (especially near bright windows)
Lighting tips: the fastest way to make photos look expensive
If you only improve one thing, improve lighting. Bright, even light makes rooms feel bigger, cleaner, and more inviting—and it reduces grainy, low-quality images that turn buyers off.
Shoot at the right time of day
- Aim for natural light: typically mid-morning or late afternoon.
- Avoid harsh midday sun: it creates blown-out windows and hard shadows.
- Plan by room orientation: east-facing rooms shine in the morning; west-facing rooms look best later.
Tip: If your home has great views, schedule photos when the outdoor scene looks its best (clear sky, green landscaping, no trash bins in view).
Turn on lights—strategically
A common question: “Should I turn on all lights?” Usually yes, but with consistency:
- Match color temperature when possible: mixed bulbs (warm + cool) create odd color casts.
- Replace mismatched bulbs: use the same Kelvin range across a room (e.g., 2700K warm or 3000K soft white).
- Skip overhead glare: if a fixture creates harsh reflections, turn it off and rely on lamps + window light.
Avoid flash-on-camera (use it only as a last resort)
Direct flash flattens rooms and creates shiny hotspots. If you must use extra light, try:
- Bounce light: point an external flash toward a white ceiling/wall if available.
- Add lamps: more flattering and natural.
- Use HDR mode carefully: it can balance windows and interiors, but avoid the “over-processed” look.
Composition and angles: show space, flow, and function
Great real estate photography isn’t artistic—it’s informational. Your goal is to help buyers understand layout, size, and how the home lives.
Use the right height and keep lines straight
- Camera height: about chest level (roughly 4–5 feet) works for most rooms.
- Keep verticals vertical: tilting the camera makes walls “lean.” Use your phone’s grid and level tool.
- Square up to key lines: align with countertops, door frames, and tile to reduce distortion.
Pick angles that show depth (not corners that confuse)
For most rooms, the best shots come from:
- Doorways: they maximize the field of view without squeezing into a corner.
- Two-wall perspective: show two walls to communicate shape and depth.
- Flow shots: capture how kitchen connects to dining/living areas when open concept is a selling point.
Room-by-room shot list (don’t miss key photos)
Use this as your minimum baseline:
- Exterior: front (straight-on + angled), backyard/patio, any standout features (pool, deck, landscaping).
- Living spaces: living room (2 angles), dining area, family room (if separate).
- Kitchen: wide shot showing layout, plus one feature shot (island, range, pantry).
- Bedrooms: primary (2 angles), secondary bedrooms (1 angle each).
- Bathrooms: 1 clean wide shot each (avoid toilet as the hero).
- Bonus: laundry, office, garage (if clean), storage, views, and community amenities if relevant.
Capture features, not clutter
Buyers love details—when they’re the right ones:
- Do: fireplace, built-ins, updated hardware, high-end appliances, ceiling beams, new windows.
- Don’t: random close-ups of decor, candles, or generic vases that don’t add value.
Gear and settings: smartphone or camera, both can win
You can absolutely create strong listing photos with a modern smartphone. What matters is stability, lens choice, and consistency.
Smartphone best practices
- Clean the lens: a 5-second wipe can dramatically increase sharpness.
- Use 0.5x/ultrawide cautiously: it can warp edges. Step back and use 1x when possible.
- Tap to set exposure: lock focus/exposure on mid-tones (not the bright window).
- Use a tripod: it improves sharpness and keeps angles consistent across the whole gallery.
Camera basics (if you have one)
- Lens: a wide-angle lens helps (but avoid extreme fisheye distortion).
- Aperture: aim for a deeper depth of field so the whole room is sharp.
- Stability: tripod + timer reduces blur and boosts clarity.
When to consider 3D tours or floor plans
Photos attract interest; structure closes the gap. If your property has a unique layout or you want to reduce “tire-kicker” showings, add:
- Floor plan: helps buyers understand flow quickly.
- 3D tour: increases confidence for remote buyers and busy schedules.
Editing tips: keep it natural, bright, and accurate
Editing is where good photos become listing-ready. The goal isn’t to “fake” the home—it’s to ensure the images match what the eye sees in person. Over-editing creates mistrust and can backfire at showings.
Edit in this order (fast workflow)
- Straighten and correct perspective: fix leaning vertical lines first.
- Adjust brightness/exposure: lift shadows gently; avoid blown highlights.
- Correct white balance: neutralize yellow/orange or blue casts.
- Add mild contrast and clarity: keep it subtle.
- Sharpen lightly: too much looks crunchy.
What to avoid (common listing photo mistakes)
- Over-saturated colors: grass and walls shouldn’t look neon.
- Heavy HDR halos: especially around windows and rooflines.
- Misleading edits: removing permanent features or changing room size can create buyer disappointment.
- Inconsistent lighting across the gallery: one warm photo + one cool photo in the same room looks sloppy.
Choose (and order) your photos like a buyer journey
Most platforms show a handful of images before the buyer clicks deeper. Use that to your advantage:
- Lead with the strongest hero shot: usually the front exterior or the most impressive living space.
- Show the “why” early: kitchen, main living area, primary suite.
- Then cover the full story: secondary rooms, bathrooms, backyard, bonus spaces.
- End with context: views, community amenities, garage/storage (if a plus).
Quick final checklist before you upload
- Are vertical lines straight? (walls and door frames)
- Do photos look bright but natural? (not washed out)
- Is every key room represented? (no missing bathroom or bedroom)
- Is the gallery consistent? (same style, similar color temperature)
- Do photos match reality? (builds trust and reduces wasted showings)
Conclusion: better photos = better buyers
Photography isn’t just a finishing touch—it’s a performance lever. Strong listing images can increase attention, improve perceived value, and help the right buyers book showings faster. With simple prep, thoughtful lighting, clean composition, and minimal natural editing, you can create a photo set that competes with professionally marketed homes.
Ready to turn great photos into a great listing? AIRE helps you package and optimize your sale with AI-powered guidance—so you can build a compelling listing, price strategically, and manage the transaction end-to-end with confidence (no traditional agent required). Create your listing plan with AIRE and put your best images to work.